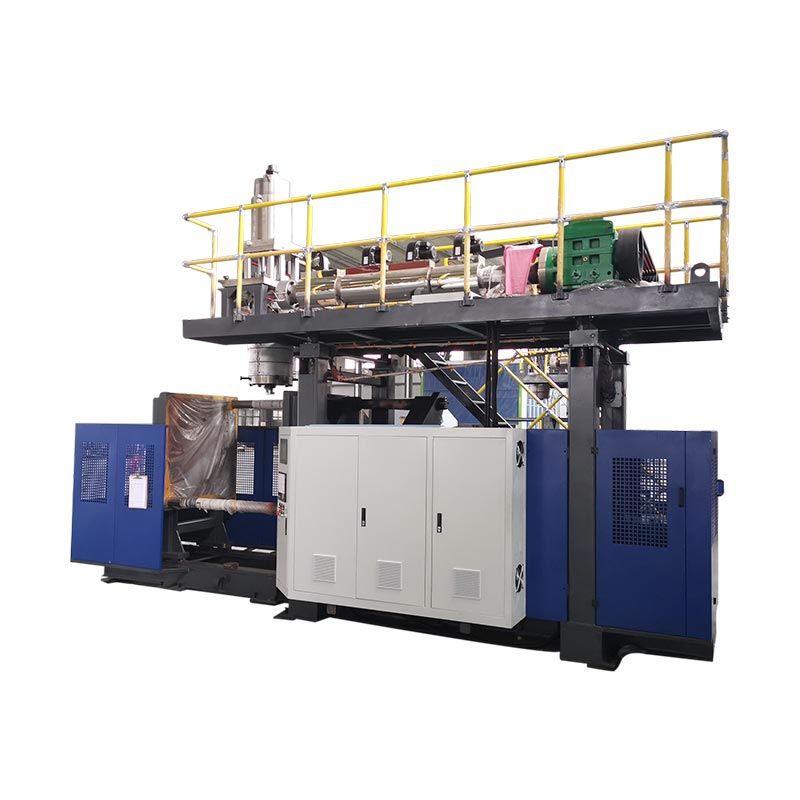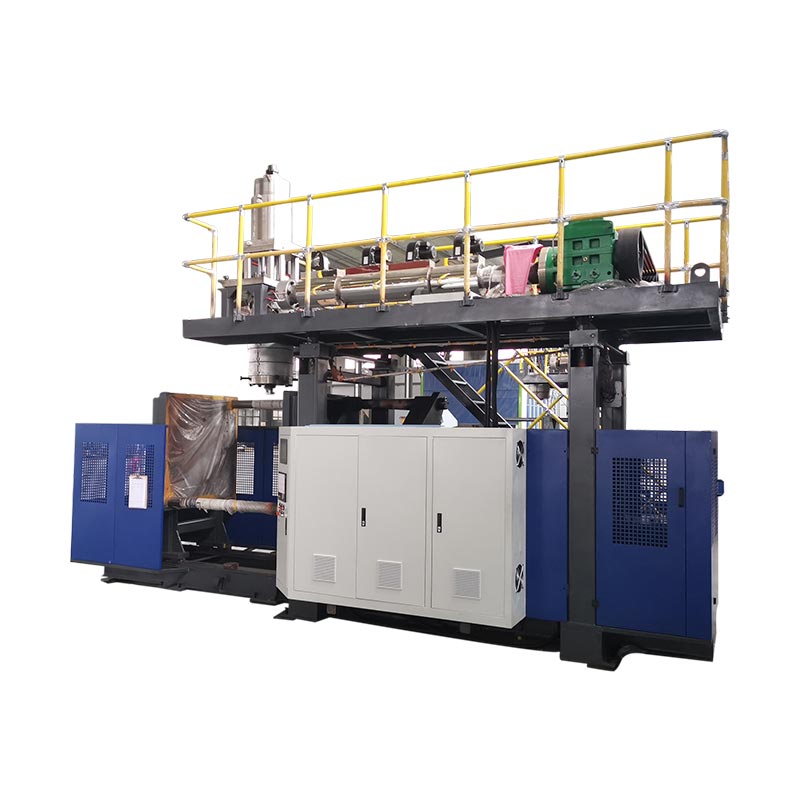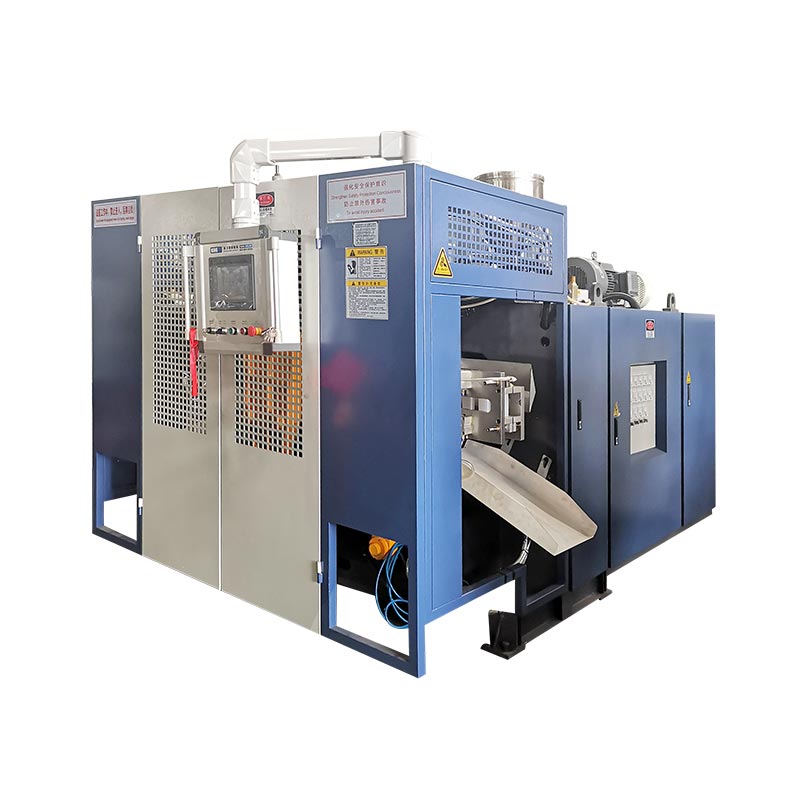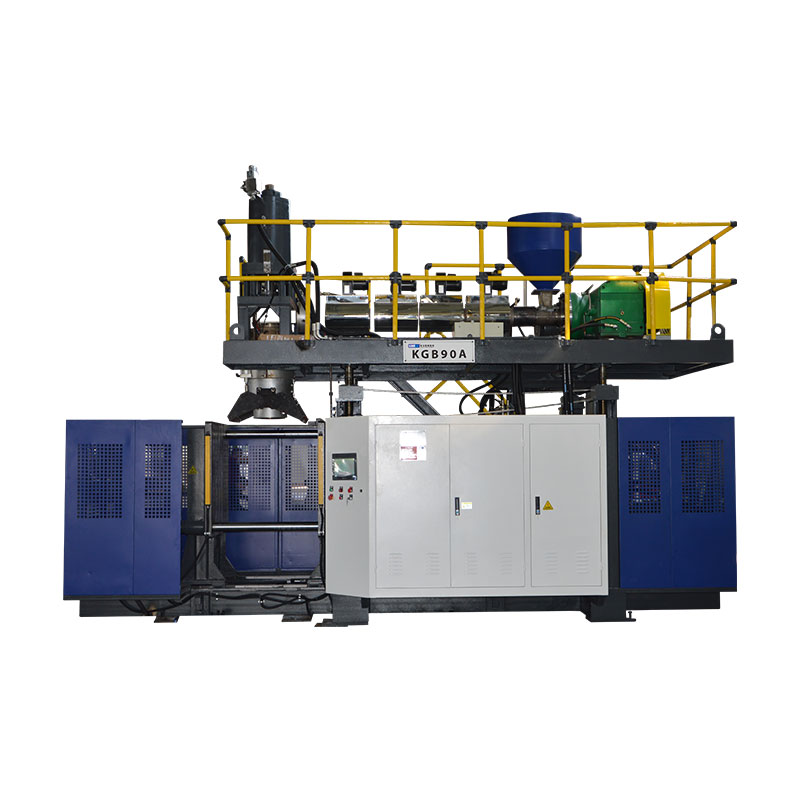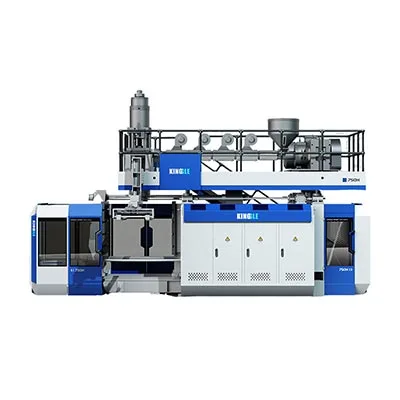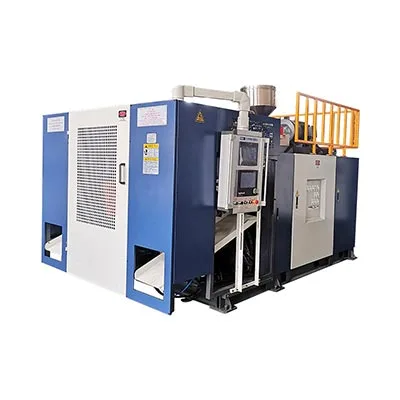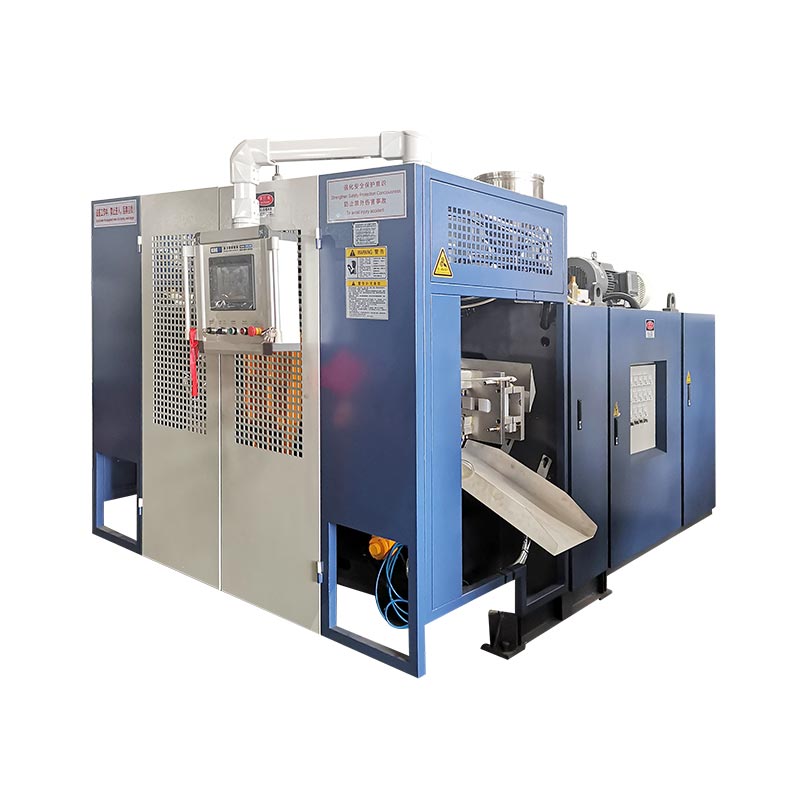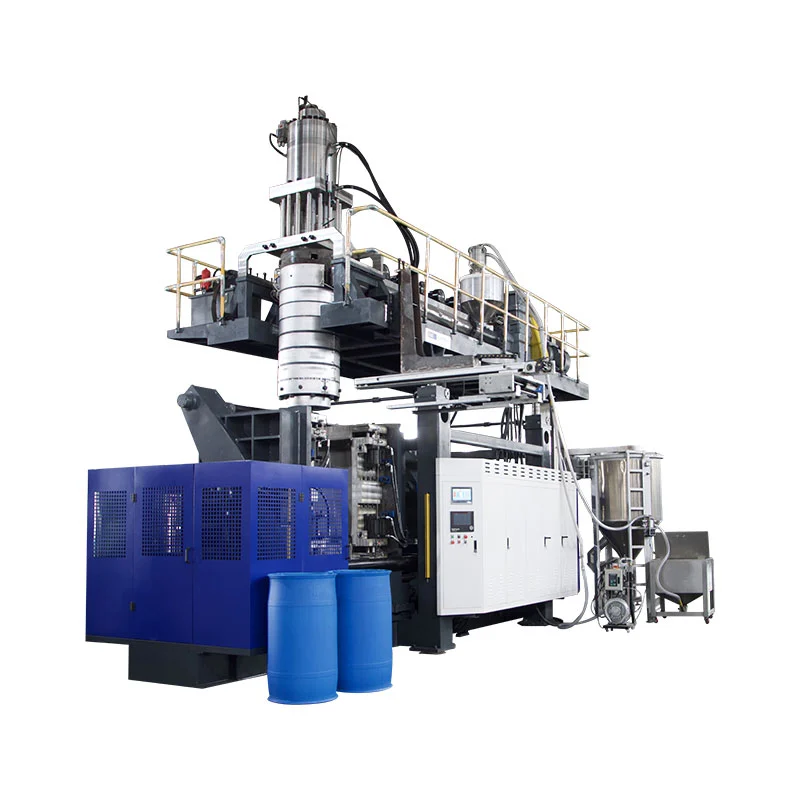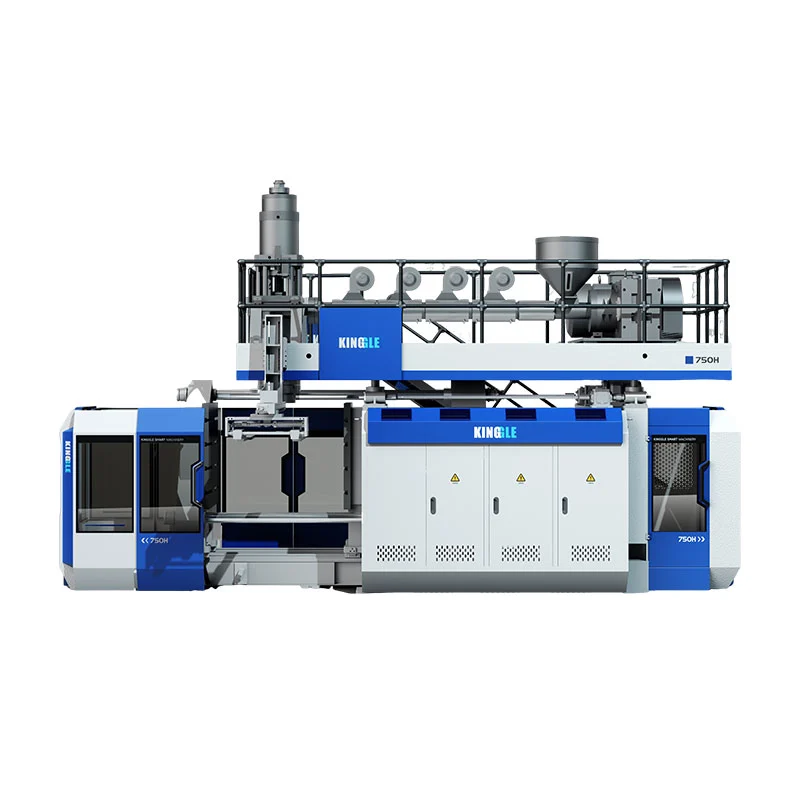
Parison programming changes the die gap during extrusion so material is placed where the finished part needs it. A good profile protects corners, handles, shoulders, and pinch-off areas without making the entire container heavier.
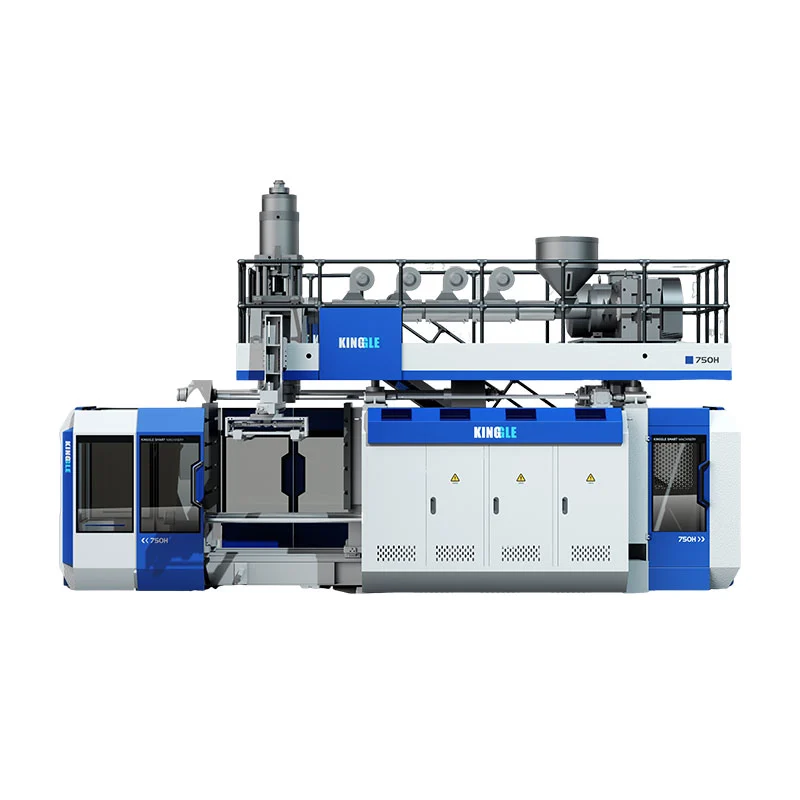
What parison programming actually controls
In extrusion blow molding, molten plastic leaves the die as a tube called a parison. Gravity, melt strength, die swell, stretch, and mold geometry affect how that tube becomes a part. A uniform die gap rarely creates a uniform finished wall when the part has shoulders, corners, a handle, or a deep draw.
The controller moves the tooling to make selected sections thicker or thinner. The aim is controlled material distribution: enough material in highly stretched or highly loaded areas, with less unnecessary weight in sections that form easily.
| Profile action | Process effect | What to verify |
|---|---|---|
| Increase opening at selected points | Adds material to that portion of the parison | Thin corners, handle roots, shoulders, bottom and pinch-off area |
| Decrease opening at selected points | Reduces material in that portion | Heavy straight walls, slow-cooling zones and excess part weight |
| Shift the profile | Moves the thick and thin zones along the parison | Whether a programmed zone aligns with the intended part feature |
| Scale overall profile weight | Changes the full profile | Total weight and minimum wall, not only the average |
A useful production record keeps the profile file together with mold number, resin grade, color or regrind condition, temperature recipe, shot size, cooling time, and approved part measurements.
Continuous and accumulator systems use different references
On a continuous blow molding machine, the parison forms continuously. The profile is normally synchronized to time or parison length. Extrusion stability matters because a change in output can move a programmed point along the part.
On an accumulator blow molding machine, melt is stored and pushed through the die. The profile can be tied to accumulator position. Shot size, filling consistency, and transducer calibration become part of the wall-thickness problem.
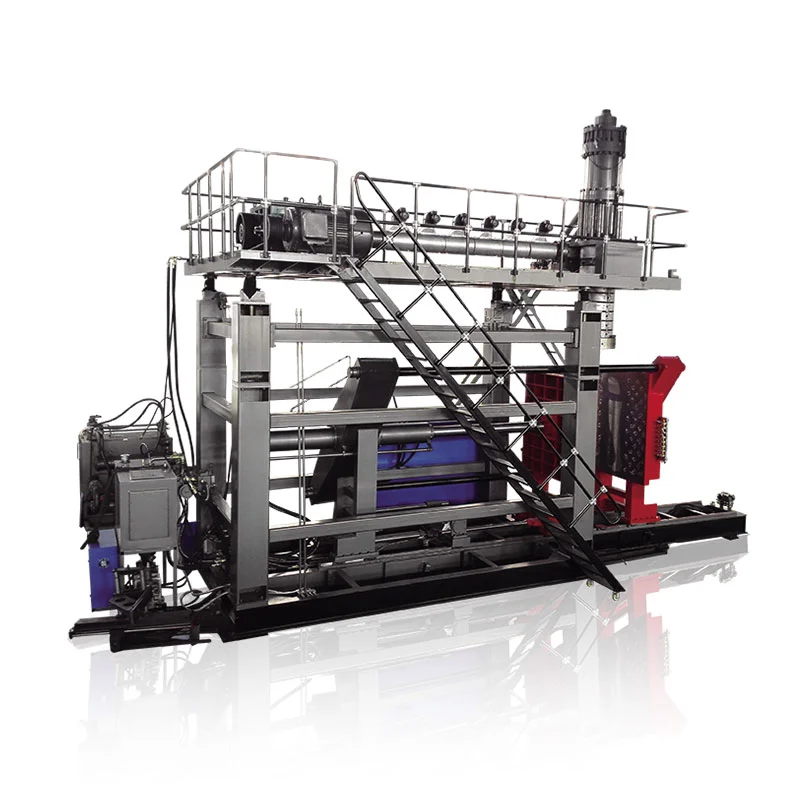
The official MOOG DigiPack III manual documents both accumulator and continuous-extrusion applications. This does not mean every Kinggle machine uses the same controller. Confirm the controller model, profile capacity, actuator and tooling in the project quotation.
A controlled setup sequence
- Confirm the correct recipe. Match the mold, material, die and product revision.
- Stabilize the melt. Let actual temperatures settle and confirm consistent feeding and extrusion.
- Check tooling zero and span. Inspect movement for sticking, leakage or misalignment.
- Set parison length and shot size. The parison must reach the correct position at mold close.
- Begin with a simple profile. Broad changes are easier to diagnose than many sharp corrections.
- Mold several stable cycles. Do not judge the first part after a major process change.
- Measure fixed locations. Record minimum wall, part weight, appearance and functional results.
- Change one area at a time. Save a new revision only after repeatable improvement.
Wall-thickness troubleshooting by symptom
| Symptom | Inspect | Next step |
|---|---|---|
| Thin bottom or shoulder | Profile position, parison sag, stretch and blow timing | Confirm alignment before adding overall weight |
| One side consistently thinner | Die centering, mold alignment, cooling and parison contact | Correct the asymmetric physical cause |
| Thickness moves cycle to cycle | Melt temperature, output, shot size, feedback and hydraulic stability | Stabilize the process before editing points |
| Heavy wall but weak pinch-off | Material location, pinch-off design and parison position | Move material to the pinch zone instead of raising full-part weight |
| Good distribution but excess weight | Overall scale and unnecessarily heavy sections | Reduce in measured steps while protecting minimum-wall locations |
| Command changes but part does not | Actuator, valve, wiring, calibration or restriction | Compare command and feedback, then escalate to maintenance |
The factory view: repeatability matters more than one perfect sample
A profile is production-ready only when it survives normal variation, such as a warm restart, material-lot change, shift change and the expected range of cooling-water conditions. One good container proves the machine can make the part; a stable run proves the process can be managed.
Before acceptance, agree on measurement locations, sample quantity, functional tests and the approved recipe revision. Protect the baseline file while giving trained operators a documented route to make and reverse controlled adjustments.
If profile instability appears with alarms, position disagreement or sequence changes, use the HMI and alarm guide. Buyers still defining the equipment can start with Kinggle's machine selection guide.
Frequently asked questions
What is parison programming?
Parison programming changes the die-gap opening during extrusion so different sections of the parison receive different amounts of material.
Can parison programming fix every thin-wall problem?
No. It cannot reliably correct die misalignment, unstable extrusion, damaged tooling, poor cooling, incorrect mold design, or a malfunctioning actuator.
Should I change individual points or overall weight first?
Use overall weight only when the complete part is consistently light or heavy. Use local point changes when measurements show a repeatable problem in a specific area.
Why does the profile move on the part?
Common causes include changes in extrusion rate, parison length, accumulator shot consistency, material temperature, start delay, or sensor calibration.
How many profile points does a machine need?
The required number depends on part geometry and controller configuration. More points do not compensate for an unstable process.